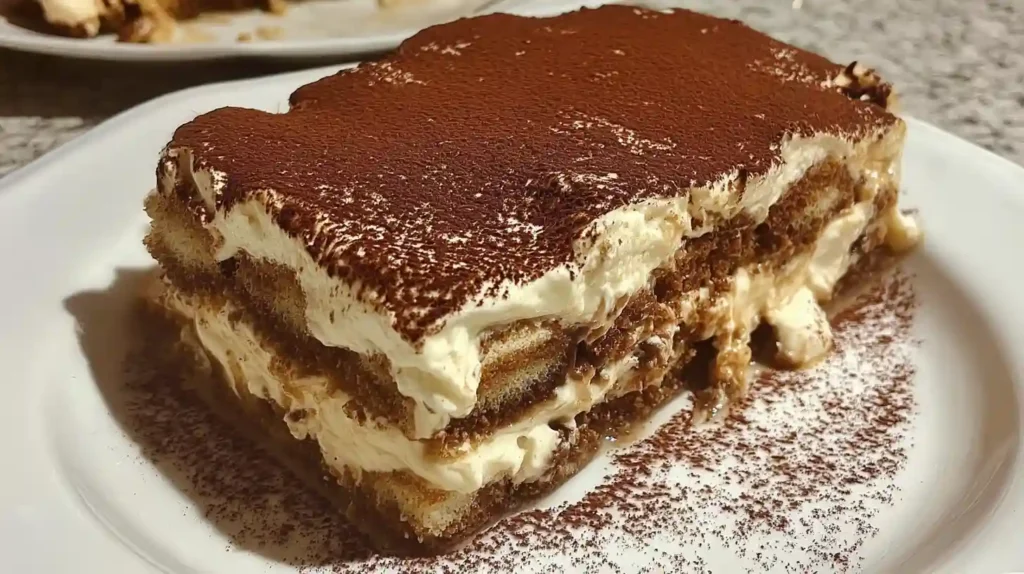
There is something quietly irresistible about a well-made tiramisu aesthetic dessert. The soft layers, the cocoa dusting, the way it holds its shape when you lift a perfect square out of a baking pan – it just looks effortlessly beautiful. This homemade no-bake tiramisu recipe leans into that visual charm while keeping the process genuinely simple. No oven, no complicated technique, just a few quality ingredients and a little patience.
What You Need for This Recipe
Classic tiramisu uses mascarpone, eggs, espresso, and ladyfingers. That combination has worked for decades, and for good reason. The richness of the mascarpone, balanced against strong coffee and a light cocoa finish, is hard to beat. For a vanilla tiramisu twist, simply add a generous splash of vanilla extract to the cream mixture. It softens the flavor profile without changing the texture at all.
Here is what you need for one standard tiramisu in baking pan, serving about 8 to 10 people:
- 500g (about 2 cups) mascarpone cheese, at room temperature
- 4 large eggs, separated
- 100g (½ cup) granulated white sugar
- 1 teaspoon pure vanilla extract
- 240ml (1 cup) strong espresso or brewed coffee, cooled
- 2 tablespoons coffee liqueur (optional)
- 200g (about 24 to 28) ladyfinger biscuits
- Unsweetened cocoa powder for dusting
- A pinch of salt
How to Build the Layers
Start by whisking the egg yolks with sugar until the mixture turns pale and slightly thick, around 3 to 4 minutes by hand. Add the mascarpone and vanilla extract, then fold everything together gently until smooth. In a separate bowl, beat the egg whites with a pinch of salt to stiff peaks. Fold them into the mascarpone mixture in two or three additions. This step is what gives the cream its lift – do not rush it or skip it.
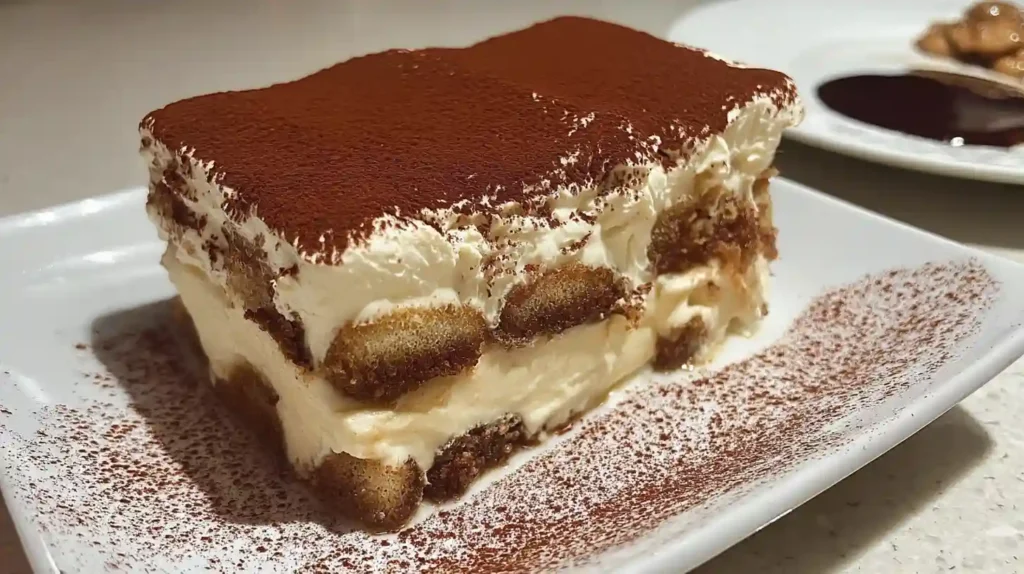
Mix your cooled espresso with the liqueur if using. Dip each ladyfinger quickly, about one second per side. They should be moist but not soggy. Lay the first layer in your tiramisu cake pan or glass dish, covering the base completely. Spread half the cream over the top, smooth it out, then repeat with another ladyfinger layer and the remaining cream. Dust generously with cocoa powder, cover tightly, and refrigerate for at least 6 hours. Overnight is better.
Ingredient Swaps That Actually Work
No mascarpone? A mix of cream cheese and heavy cream (roughly 3:1 ratio) comes close. It is slightly tangier but works well in a homemade tiramisu in glass dish where the layers are more visible. For an alcohol-free version, just skip the liqueur entirely and increase the espresso by a tablespoon or two. The depth of flavor stays, just without the boozy edge.
Raw egg concerns are valid. If you prefer, use pasteurized eggs, or swap the yolks for an extra ¼ cup of heavy cream whipped to soft peaks. The result is a slightly lighter cream but still holds shape well after chilling.
Pro Tips for Perfect Results
Cold mascarpone can cause lumps. Let it sit at room temperature for 20 minutes before mixing. Also, do not over-dip the ladyfingers – one quick dunk per side is enough. Over-soaked biscuits collapse and turn the whole base into mush, which ruins the layered look that makes this a true tiramisu aesthetic dessert worth photographing. If you want something closer to a chocolate sin trifle vibe, add a thin layer of shaved dark chocolate between the cream layers.
Variations Worth Trying
A homemade tiramisu in baking pan is the most practical format for a crowd, but individual glass cups or a trifle bowl are stunning for serving at the table. You can also layer this no-bake tiramisu cake recipe with sliced strawberries or raspberries between the cream layers for a fruity version. The coffee flavor gets a nice contrast from the acidity of the berries. Matcha powder in place of cocoa on top is another option that looks especially dramatic.
Storage and Serving
Tiramisu keeps well in the fridge for up to 3 days, covered tightly with plastic wrap. The texture actually improves on day two as the layers settle and the flavors deepen. Do not freeze it – the mascarpone cream separates when thawed and the texture becomes grainy. Serve cold, cut into neat squares, and dust with a little fresh cocoa powder right before bringing it to the table.
FAQ
Can I make this tiramisu without eggs?
Yes. Replace the egg mixture with 1½ cups of heavy cream whipped to stiff peaks, then fold in the mascarpone and vanilla. The cream is less rich but still sets beautifully after chilling.
What pan size works best for homemade tiramisu in pan?
A standard 9×13 inch baking pan fits this recipe perfectly. A slightly smaller dish just means slightly thicker layers, which is honestly better for slicing cleanly.
How long does tiramisu need to set?
A minimum of 6 hours is needed for the layers to firm up and the flavors to develop. Overnight refrigeration gives the best texture and makes the dessert much easier to slice neatly.
Can I use decaf coffee?
Absolutely. The flavor profile stays the same. Decaf is a great option if you are serving this to children or anyone sensitive to caffeine.
Why is my cream too runny?
This usually happens when the mascarpone was too warm, the egg whites were under-beaten, or the cream was folded too aggressively. Make sure everything is properly cold and the egg whites reach stiff peaks before folding them in.
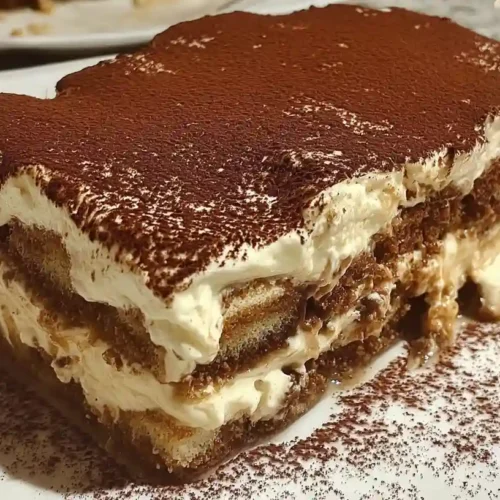
Tiramisu Aesthetic
Equipment
- 9×13 inch baking pan or glass dish
- Hand mixer or stand mixer
- Two large mixing bowls
- Spatula
Ingredients
- 500 g mascarpone cheese, at room temperature
- 4 large eggs, separated
- 100 g granulated white sugar
- 1 tsp pure vanilla extract
- 240 ml strong espresso or brewed coffee, cooled
- 2 tbsp coffee liqueur optional
- 200 g ladyfinger biscuits about 24 to 28 pieces
- unsweetened cocoa powder for dusting
- 1 pinch salt
Instructions
- Whisk egg yolks with sugar in a large bowl until pale and slightly thick, about 3 to 4 minutes.
- Add mascarpone and vanilla extract to the yolk mixture and fold gently until smooth and lump-free.
- Beat egg whites with a pinch of salt in a separate clean bowl until stiff peaks form.
- Fold the egg whites into the mascarpone mixture in two or three additions, keeping it airy.
- Combine cooled espresso with liqueur if using in a shallow bowl.
- Dip each ladyfinger quickly, about one second per side, into the espresso mixture. Do not over-soak.
- Arrange the first layer of dipped ladyfingers in the bottom of your baking pan or glass dish.
- Spread half the mascarpone cream evenly over the ladyfinger layer.
- Repeat with a second layer of dipped ladyfingers, then top with the remaining cream and smooth the surface.
- Dust generously with cocoa powder, cover with plastic wrap, and refrigerate for at least 6 hours or overnight.
- Slice, dust with fresh cocoa powder if desired, and serve cold.
Notes
- Let mascarpone sit at room temperature for 20 minutes before using to avoid lumps.
- Dip ladyfingers quickly – over-soaking collapses the layers.
- Overnight chilling gives the best texture and clean slices.
- Do not freeze – mascarpone separates when thawed.
- For a vanilla tiramisu version, add an extra half teaspoon of vanilla to the cream.