There’s something incredibly satisfying about biting into a dessert that combines three perfect textures. You get that buttery shortbread base, the gooey caramel center that stretches just slightly, and a crumbly topping that adds the perfect finish. These Caramel Crumb Bars deliver exactly that experience every single time.
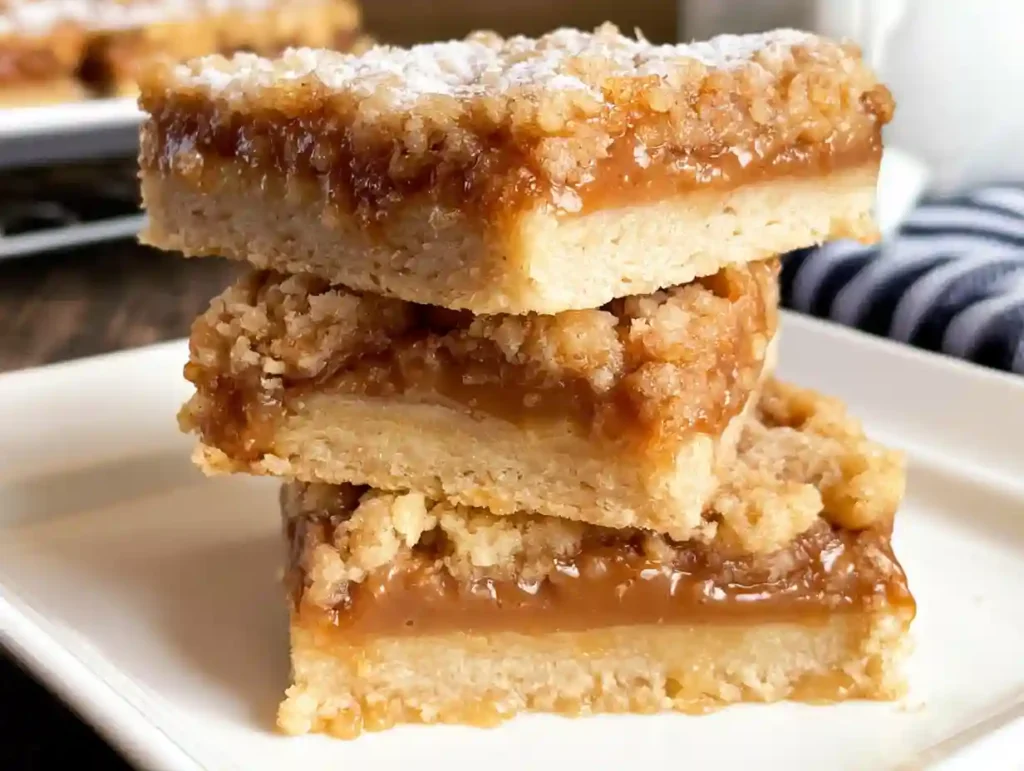
I first made these caramel baked goods for a summer potluck, and they disappeared faster than anything else on the table. People kept asking for the recipe, which told me I’d struck gold. The combination of a shortbread crust bars foundation with rich caramel filling creates what I consider one of the best crumb bars recipes out there.
What makes these caramel baking recipes so special is their simplicity. You don’t need fancy equipment or advanced techniques. Just basic ingredients you probably already have in your pantry. The result is a dessert that tastes like it came from a high-end bakery but was made right in your own kitchen.
Why These Caramel Crumb Bars Work So Well
The secret lies in the balance of flavors and textures. The shortbread caramel recipe base provides a sturdy foundation that doesn’t get soggy. Meanwhile, the caramel bits melt into a luscious layer that holds everything together. The crumb topping adds that final touch of sweetness and crunch that makes each bite interesting.
These bars dessert recipes are perfect for so many occasions. They work as summer bars dessert options because they’re not too heavy. They’re great for potlucks, bake sales, or just when you need to bring something special to a gathering. The caramel dessert squares cut beautifully and hold their shape well, making them easy to transport and serve.
Another advantage of these crumb bars recipes is their make-ahead friendliness. You can prepare them a day in advance, which actually helps them set properly. The flavors meld together overnight, resulting in even better taste the next day. This makes them ideal for busy hosts who want to prep ahead.
Ingredients You’ll Need
Let’s talk about what goes into making these caramel crumb bars. The ingredient list is straightforward, but each component plays an important role in the final result.
- 2 cups all-purpose flour for the base and topping
- 1/2 cup granulated sugar for sweetness
- 1/4 teaspoon salt to balance flavors
- 1 cup cold unsalted butter, cubed, for that rich shortbread texture
- 1 teaspoon vanilla extract for depth
- 14 ounces caramel bits or unwrapped caramel squares
- 1/3 cup heavy cream for smooth caramel consistency
- 1/2 teaspoon baking soda for proper texture
The flour forms the structure of both the crust and the crumbly topping. Using all-purpose flour gives you the right balance of tenderness and stability. The cold butter is crucial because it creates those little pockets in the dough that make the shortbread so delightful.
For the caramel layer, you have options. Caramel bits are convenient because they’re already the right size and melt evenly. If you can’t find them, unwrapped caramel squares work perfectly too. The heavy cream helps create that smooth, pourable consistency that spreads easily over the crust.
Step-by-Step Instructions
Start by preheating your oven to 350°F. Line a 9×13 inch baking pan with parchment paper, leaving some overhang on the sides. This makes removal much easier later. Lightly grease the parchment with cooking spray.
In a large bowl, combine the flour, sugar, and salt. Add the cold cubed butter and use a pastry cutter or your fingers to work it into the dry ingredients. You want the mixture to resemble coarse crumbs with some pea-sized butter pieces remaining. This texture is what creates that perfect shortbread consistency.
Reserve about one cup of the crumb mixture for the topping. Press the remaining mixture firmly and evenly into the bottom of your prepared pan. Use the bottom of a measuring cup to really compact it down. This creates a solid base that won’t fall apart when you cut the bars.
Bake the crust for 15 minutes until it’s just starting to turn golden around the edges. While that bakes, combine the caramel bits and heavy cream in a microwave-safe bowl. Heat in 30-second intervals, stirring between each, until completely smooth and melted. This usually takes about 2 to 3 minutes total.
Once the crust comes out of the oven, immediately pour the melted caramel over the top. Use a spatula to spread it evenly to the edges. Sprinkle the reserved crumb mixture over the caramel layer. Don’t press it down, just let it sit loosely on top.
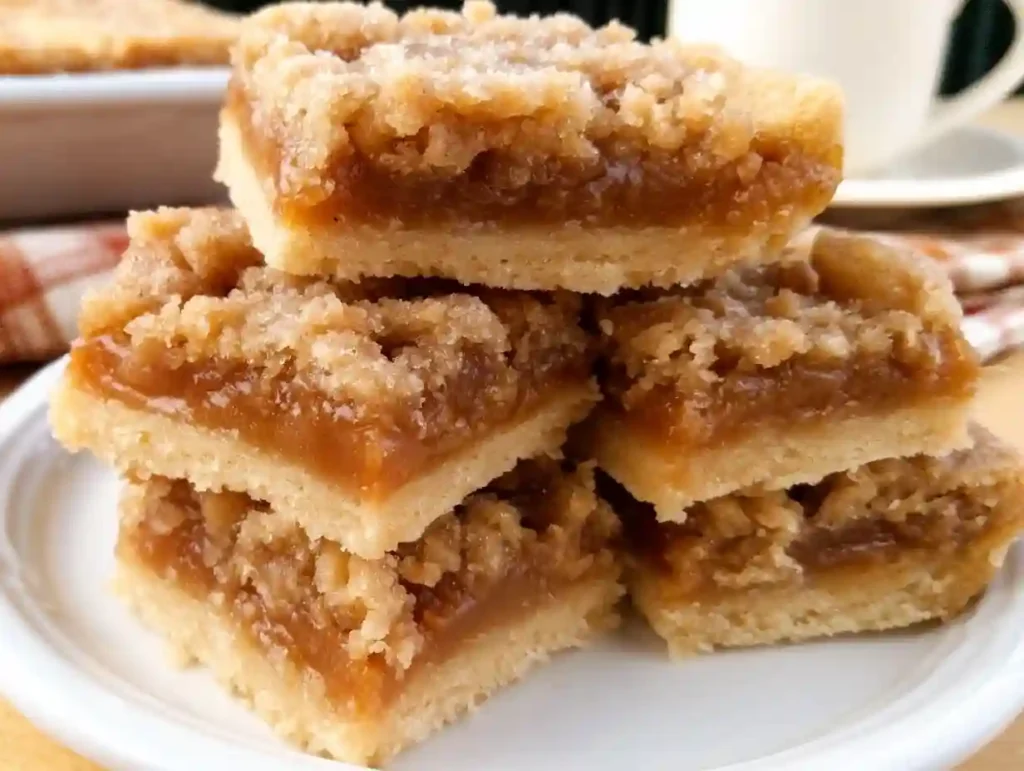
Return the pan to the oven and bake for another 18 to 22 minutes. You’re looking for the topping to turn golden brown and the caramel to bubble slightly around the edges. The bars should look set but still have a little jiggle in the center.
Pro Tips for Perfect Results
Keep your butter cold until you’re ready to use it. Warm butter will make the dough greasy instead of crumbly. If your kitchen is hot, chill the butter cubes for 10 minutes before starting.
Don’t skip the parchment paper lining. Caramel is sticky business, and you’ll thank yourself when you can lift the entire slab out of the pan for easy cutting. Make sure the overhang is on two opposite sides for handles.
Let the bars cool completely before cutting. This is the hardest part because they smell amazing, but cutting too soon will result in messy, gooey bars. I recommend at least 2 hours at room temperature, or even better, an hour in the refrigerator.
Variations to Try
Add a layer of semi-sweet chocolate chips over the caramel before adding the crumb topping. This creates a chocolate caramel version that’s absolutely decadent. The chocolate melts slightly during baking and adds another dimension of flavor.
Mix chopped pecans or walnuts into the reserved crumb topping for added crunch and nuttiness. Toast the nuts lightly before adding them for even more flavor. This works especially well if you’re serving these caramel baked goods during fall or winter.
Sprinkle a pinch of flaky sea salt over the caramel layer before adding the topping. This creates a salted caramel effect that balances the sweetness beautifully. It’s a small addition that makes a big impact on the overall flavor profile.
Troubleshooting Tips
If your caramel layer is too runny, you may have added too much cream. Next time, reduce it by a tablespoon. The caramel should be thick enough to spread but still pourable. If this happens, let the bars chill longer in the refrigerator to help them set.
Crumbly bars that fall apart usually mean the crust wasn’t pressed down firmly enough. Use real pressure when compacting the base layer. A flat-bottomed measuring cup works great for this. The crust should be dense and even before baking.
If the topping is burning before the caramel sets, your oven might be running hot. Try reducing the temperature to 325°F and extending the baking time by 5 minutes. Every oven is different, so adjust based on your results.
Ingredient Substitutions
For a gluten-free version, substitute the all-purpose flour with a 1:1 gluten-free baking flour blend. Make sure it contains xanthan gum for proper binding. The texture will be slightly different but still delicious.
If you need to use salted butter, reduce the added salt to just a pinch. Taste the crumb mixture before pressing it into the pan. You can always add more salt, but you can’t remove it once it’s in.
Coconut cream works as a dairy-free alternative to heavy cream in the caramel layer. Use full-fat coconut cream for the richest results. The flavor will have a slight coconut note, which actually pairs nicely with caramel.
Storage and Serving Suggestions
Store these caramel crumb bars in an airtight container at room temperature for up to 3 days. For longer storage, keep them in the refrigerator for up to a week. The cold makes them firmer and easier to cut cleanly.
These bars freeze beautifully. Wrap individual pieces in plastic wrap and place in a freezer bag. They’ll keep for up to 3 months. Thaw at room temperature for about an hour before serving.
Serve these caramel dessert squares with a scoop of vanilla ice cream for an extra indulgent treat. They also pair wonderfully with coffee or tea as an afternoon snack. For parties, cut them into smaller squares for bite-sized portions.
Frequently Asked Questions
Can I use homemade caramel instead of caramel bits? Yes, but make sure it’s thick enough to hold its shape. Thin caramel will soak into the crust and make it soggy. Use about 1 1/2 cups of thick homemade caramel.
Why did my caramel layer sink to the bottom? This usually happens if the crust wasn’t pre-baked long enough. Make sure the crust is set and just starting to golden before adding the caramel. Also, let the caramel cool slightly before pouring.
Can I make these bars ahead of time? Absolutely. These caramel baked goods actually taste better the next day as the flavors have time to meld. Make them up to 2 days in advance and store covered at room temperature.
How do I get clean cuts? Use a sharp knife and wipe it clean between each cut. For the cleanest results, chill the bars in the refrigerator for an hour before cutting. This firms up the caramel layer.
Can I double this recipe? Yes, but use two 9×13 pans instead of trying to fit double the batter in one pan. The layers need to be the right thickness for proper cooking and texture.
What’s the best way to transport these bars? Keep them in the pan until you reach your destination. The parchment overhang makes it easy to lift them out. Cut them at your destination for the freshest presentation.
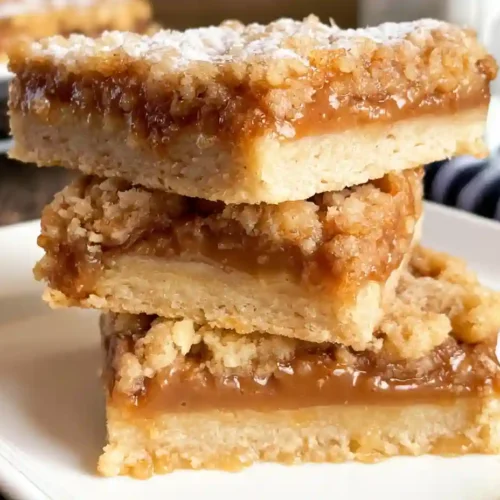
Caramel Crumb Bars

Equipment
- 9×13-inch baking pan
- Large Mixing Bowl
- Pastry cutter
- Microwave-safe bowl
- Spatula
- Sharp knife
Ingredients
- 2 cups all-purpose flour
- 1/2 cup granulated sugar
- 1/4 teaspoon salt
- 1 cup cold unsalted butter cubed
- 1 teaspoon vanilla extract
- 14 ounces caramel bits or unwrapped caramel squares
- 1/3 cup heavy cream
- 1/2 teaspoon baking soda
Instructions
- Preheat oven to 350°F. Line a 9×13 inch baking pan with parchment paper, leaving overhang on two sides. Lightly grease with cooking spray.
- In a large bowl, combine flour, sugar, and salt. Add cold cubed butter and work into dry ingredients using a pastry cutter until mixture resembles coarse crumbs with pea-sized butter pieces.
- Reserve 1 cup of crumb mixture for topping. Press remaining mixture firmly and evenly into prepared pan using the bottom of a measuring cup.
- Bake crust for 15 minutes until just starting to turn golden around edges. Remove from oven.
- While crust bakes, combine caramel bits and heavy cream in microwave-safe bowl. Heat in 30-second intervals, stirring between each, until completely smooth (about 2-3 minutes total).
- Pour melted caramel over hot crust and spread evenly to edges with a spatula. Sprinkle reserved crumb mixture loosely over caramel layer.
- Return pan to oven and bake for 18-22 minutes until topping is golden brown and caramel bubbles slightly around edges.
- Cool completely in pan on wire rack for at least 2 hours. Use parchment overhang to lift bars out and cut into 24 squares with sharp knife.
Notes
- Keep butter cold until ready to use for best texture
- Don’t skip parchment paper lining for easy removal
- Let bars cool completely before cutting for clean slices
- Store in airtight container at room temperature up to 3 days
- Freeze individual wrapped bars for up to 3 months