
Homemade pita bread has a way of making an ordinary meal feel a little more special. The first time I pulled a batch from the pan and watched them puff into soft little pockets, I stood there smiling like I had just discovered a kitchen trick I should have known years ago. That warm, toasty smell, the soft crackle as they cool, and the way they tear open so easily makes this one of those recipes you end up baking again and again.
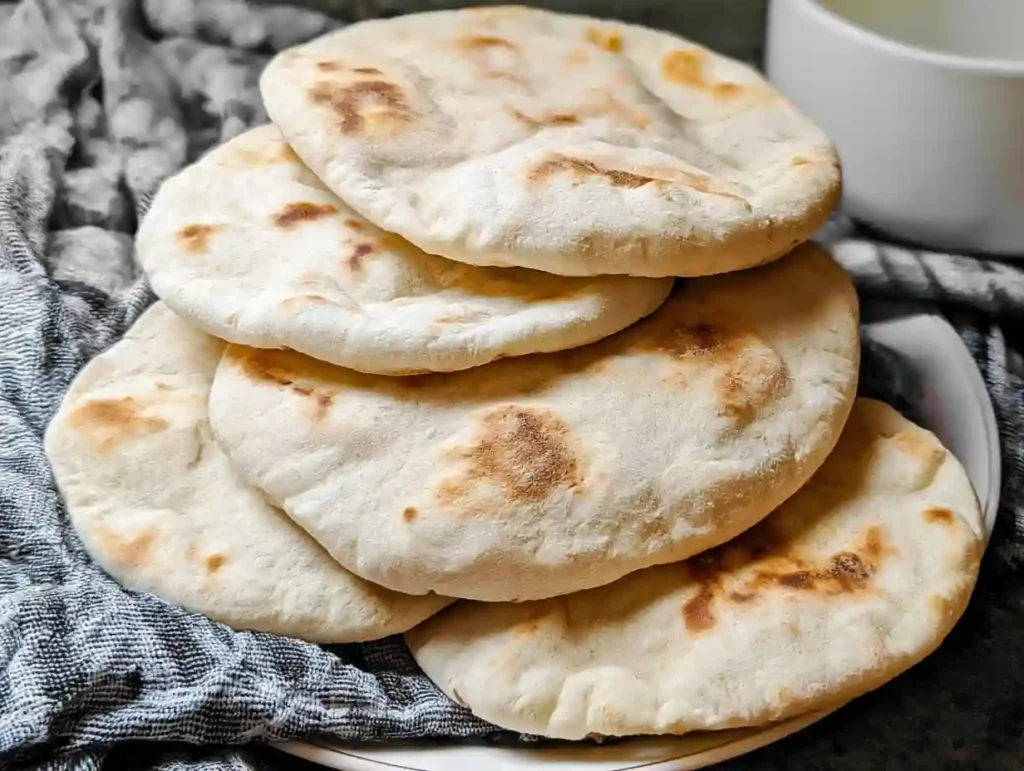
This Homemade Pita Bread recipe is simple, comforting, and full of that fresh-baked flavor store-bought bread never quite matches. It uses basic pantry ingredients, comes together with a straightforward dough, and gives you that classic pocket that works so well for wraps, dips, sandwiches, and quick lunch ideas. If you love Simple Baked Treats and Homemade Staples From Scratch, this one fits right in with your usual kitchen rhythm.
There is something satisfying about making bread with your own hands. The dough feels soft and alive, the kitchen gets a little warm, and you know exactly what went into it. That is part of the charm of Simple Homemade Pita Bread. It is unfussy, flexible, and honestly a lot easier than people expect. Once you learn How To Make Pita, it becomes one of those wrap-friendly dough recipes easy enough for a weeknight, but still impressive enough to serve with a shared meal.
Why Homemade Pita Bread Works So Well
The beauty of Homemade Pita Bread is in the balance. The dough stays soft enough to roll easily, but it still has enough structure to puff up in a hot oven or skillet. That puff creates the pocket, which is the whole magic of the recipe. If you have ever wanted Homemade Bread Recipes Easy Healthy enough for regular use, this is a very practical place to start.
It also fits beautifully into everyday meals. You can fill it with grilled chicken, falafel, roasted vegetables, or even scrambled eggs. On a busy evening, I like serving it with hummus and a chopped salad, because the bread does half the work for you. It feels like one of those Little Ingredient Recipes that quietly saves dinner.
Ingredients for Homemade Pita Bread
- 3 cups all-purpose flour, plus extra for dusting
- 1 teaspoon salt
- 2 teaspoons sugar
- 2 teaspoons instant yeast
- 1 cup warm water, about 110 F
- 2 tablespoons olive oil
These ingredients are simple, but the method matters. Warm water helps activate the yeast, while the olive oil keeps the dough tender. The flour gives the bread enough body to puff, which is exactly what you want for bakery-style Homemade Pita Bread at home.
For the best texture, do not add too much flour while kneading. The dough should feel soft and slightly springy, not dry. That little bit of softness is what helps create those beautiful pockets later. If you are aiming for Wraps Dough Recipes Easy enough to use all week, this base is a great one to keep in your rotation.
How To Make Pita
- In a large bowl, mix the flour, salt, sugar, and yeast.
- Add the warm water and olive oil, then stir until a shaggy dough forms.
- Knead the dough for 8 to 10 minutes until smooth and elastic.
- Cover and let it rise until doubled, about 1 hour.
- Divide the dough into 8 equal pieces and roll each one into a thin circle.
- Cook on a hot skillet or bake on a preheated tray until puffed and lightly golden.
- Wrap the pitas in a clean towel so they stay soft.
That is the basic flow, and it works beautifully. The key is heat. You want a hot surface so the dough puffs quickly before it has time to dry out. That quick burst of steam is what creates the pocket in Homemade Pita Bread.
Pro Tips for Better Pita
- Roll the dough evenly so each round cooks at the same speed.
- Do not skip the resting time, because the dough needs it to relax.
- Use a very hot pan or oven for the best puff.
- Cover the bread after cooking so it stays soft.
If your first round does not puff perfectly, do not worry. It still tastes great, and the next batch usually improves once you get a feel for the heat. That is part of the charm of Homemade Meal Ideas like this one. They are forgiving, useful, and easy to learn from.
Variations To Try
- Whole wheat pita for a deeper, nuttier flavor.
- Garlic pita brushed lightly with melted butter and garlic.
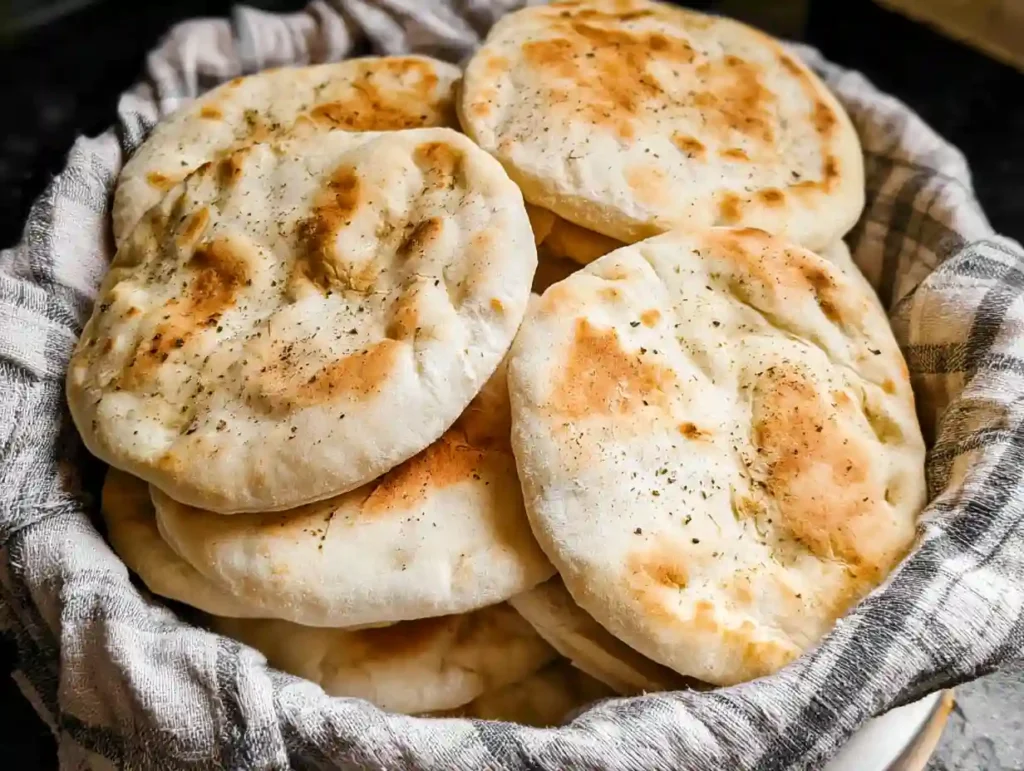
- Herb pita with dried oregano or thyme mixed into the dough.
- Mini pita rounds for snacks, mezze plates, or lunch boxes.
These variations keep Homemade Pita Bread interesting without making the process harder. The dough is flexible enough to handle a few changes, which makes it perfect for Bakery Stand Recipes style baking at home. You can keep it classic one week and add herbs the next.
Troubleshooting Tips
- If the pita does not puff, the pan may not be hot enough.
- If the dough feels stiff, add a teaspoon or two of water.
- If the bread turns dry, it may have cooked too long.
- If the pockets are uneven, roll the dough more evenly next time.
Most pita problems come down to heat, thickness, or dough texture. A soft dough and a properly heated cooking surface usually solve most issues. Once those two things are in place, Homemade Pita Bread becomes very reliable.
Ingredient Substitutions
- Use bread flour for a chewier texture.
- Swap olive oil with avocado oil or another neutral oil.
- Use honey instead of sugar for a slightly deeper flavor.
- Replace part of the flour with whole wheat flour for a heartier result.
Substitutions can change the texture a little, so it helps to keep the dough soft and adjust only one ingredient at a time. That way you can see what works best for your kitchen and your taste. It is a simple way to make Homemade Pita Bread your own.
Storage and Serving
Let the bread cool completely before storing it. Keep it in an airtight bag at room temperature for up to 2 days, or freeze it for longer storage. To reheat, warm it in a skillet or wrap it in foil and place it in the oven for a few minutes. Fresh Homemade Pita Bread also tastes excellent with hummus, labneh, grilled meats, or a simple tomato salad.
For serving, I like tearing the pitas slightly open and filling them at the table. It feels relaxed and inviting, which is exactly what a good bread recipe should do. This is the kind of food that makes a meal feel complete without adding stress.
FAQs
Why did my pita bread not puff?
The heat may have been too low, or the dough may have been rolled too thick. A hot pan and evenly rolled circles usually help the bread puff better.
Can I make Homemade Pita Bread ahead of time?
Yes, you can make it ahead and store it at room temperature for a short time or freeze it for later. It reheats well and stays soft when wrapped properly.
Can I bake it instead of cooking it on a skillet?
Yes, baking works very well if the oven is hot enough and the tray is preheated. That high heat helps create the puff and gives Homemade Pita Bread a nice, light color.
How thick should I roll the dough?
Roll it fairly thin, usually about 1/4 inch thick or a little less. If it is too thick, the bread may not puff properly.
What is the best way to keep pita soft?
Cover the cooked bread with a clean towel as soon as it comes off the heat. That traps steam and keeps the texture tender.
Can I use this dough for wraps?
Absolutely. This dough makes excellent wraps, especially when you want something soft, flexible, and freshly baked. It is a very handy recipe for busy lunches and simple dinners.
Homemade Pita Bread

Equipment
- Mixing Bowl
- MEASURING CUPS
- Skillet or baking tray
- Rolling Pin
- Clean kitchen towel
Ingredients
- 3 cups all-purpose flour plus extra for dusting
- 1 teaspoon salt
- 2 teaspoons sugar
- 2 teaspoons instant yeast
- 1 cup warm water about 110 F
- 2 tablespoons olive oil
Instructions
- In a large bowl, mix the flour, salt, sugar, and yeast.
- Add the warm water and olive oil, then stir until a shaggy dough forms.
- Knead the dough for 8 to 10 minutes until smooth and elastic.
- Cover and let it rise until doubled, about 1 hour.
- Divide the dough into 8 equal pieces and roll each one into a thin circle.
- Cook on a hot skillet or bake on a preheated tray until puffed and lightly golden.
- Wrap the pitas in a clean towel so they stay soft.
Notes
- Use a very hot cooking surface for the best puff.
- Do not add too much flour while kneading.
- Cover cooked pitas immediately to keep them soft.
- Store airtight for short-term freshness or freeze for later.